
Whether you get your water from the municipal supply or a drilled well, there is a need to keep your water clean and clear to improve its flavor. If you want to know more about it, read this blog. Achieving this is never a walk in the park to most people. Despite keeping bottled water or installing a water purification system, most people prefer to install household water filters for assurance of clearer and cleaner water.
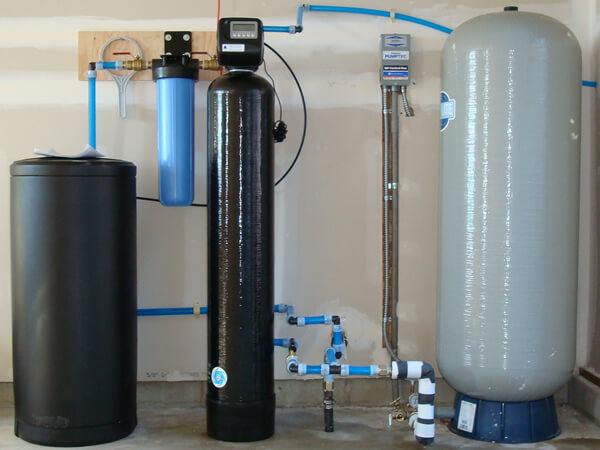
The installation is typically done in the central waterline, where it filters the entire water before it gets to your home. Wondering how to install a whole house water filter? Here’s how;
Step 1: Drain Water from the System
The first step is to ensure that the water supply is switched off at the principal water source. Then, open the faucet from the bottom point in your house to drain the water present in the system.
Step 2: Cut the Pipe
Locate the ware where you wish to install your filter. After you have identified the filter’s location, put a mark on the pipe for proper placement. Take your pipe cutter to put two cuts and have the marked part removed.
It is advisable to use the twist handle to tighten the cutter on the pipe. Several rotations of the cutter around the pipe cut the pipe into two. Alternatively, a mini cutter fits best when you are setting up the filter in a stretched space.
Step 3: Attach Fittings into Filter
From the end of the cut pipe lay a compression nut starting with the small end. Ensure that the nut slides perfectly on the ferrule and replicates on the other side. Set up the threads either onto the in and out ports as per the manufacturer’s recommendations. Ensure the brass fittings are tightened on the filter.
Step 4: Ensure Proper Filter Positing
You need to ensure that the filter is well-positioned to ensure that it functions well. It should be installed such that water enters via the ‘in’ port and goes out through the ‘out’ port. You should also ensure that the ‘in’ port is closer to the water meter while the ‘out’ port is closer to the water heater.
Once positioned well on the waterline, it ensures that the filter hangs for a short while, linking the two ferrules. The compression nut should then be tightened with your hand on the fitting parts while making sure that the filters are kept straight.
Step 5: Switch On the Water
The next step is to switch on water using a filter handle that comes with the provided kit. The unique handle helps to turn on the inlet valve in various positions such as ‘off,’ filter,’ or ‘bypass.’ Once the filter is professionally set up, ensure that the valve is in the “off” position and then back on at the shutoff valve to check for leaks.
Next, turn it to the ‘filter’ position so that the unit starts filtering. If there are any leaks at the filer house or compression fittings, tighten the fittings.
Step 6: Change the Filter as Required
Finally, ensure the filters and the cartridges are regularly changed, following the manufacturer’s recommendations. For the whole-house filter, the handle is applied for switching the inlet valve to remove the filter tanks when modifying the filters.
Turn off the valve handle and remove the tank from the housing. In case of water leaks, use a bucket to collect it, then discard the previous cartridge. Reattach the tank using the new cartridge and have the valve in the ‘filter’ position.
Conclusion
The above steps are recommended to any person that wishes to install a whole house water filter in their house. Most homeowners have currently embraced the whole-house water filters as they come with a handful of benefits compared to other systems. We hope that you find these tips easy and useful for the installation of your household water filters.