
Having an irrigation system in your garden will undoubtedly help you save water. After all, it’s a cost-effective option and will also result in healthier plants. This is because an irrigation system waters your plants deeply and encourages plant growth. However, how do you plumb an irrigation system?
Fortunately, installing an irrigation system is pretty simple. It’s important to choose a good solar irrigation pump to start the job. In fact, you can do it on your own or ask the help of professionals.
So, whether it is a drip or sprinkler, you’ll never have a hard time with its installation. Then just follow these simple steps.
Drip Irrigation Installation
A drip irrigation system is a standard irrigation method for smaller gardens. It’s also known as “micro-irrigation.” Overall, drip systems are the easiest to install, unlike sprinkler irrigation systems. This is because it only involves these four procedures:
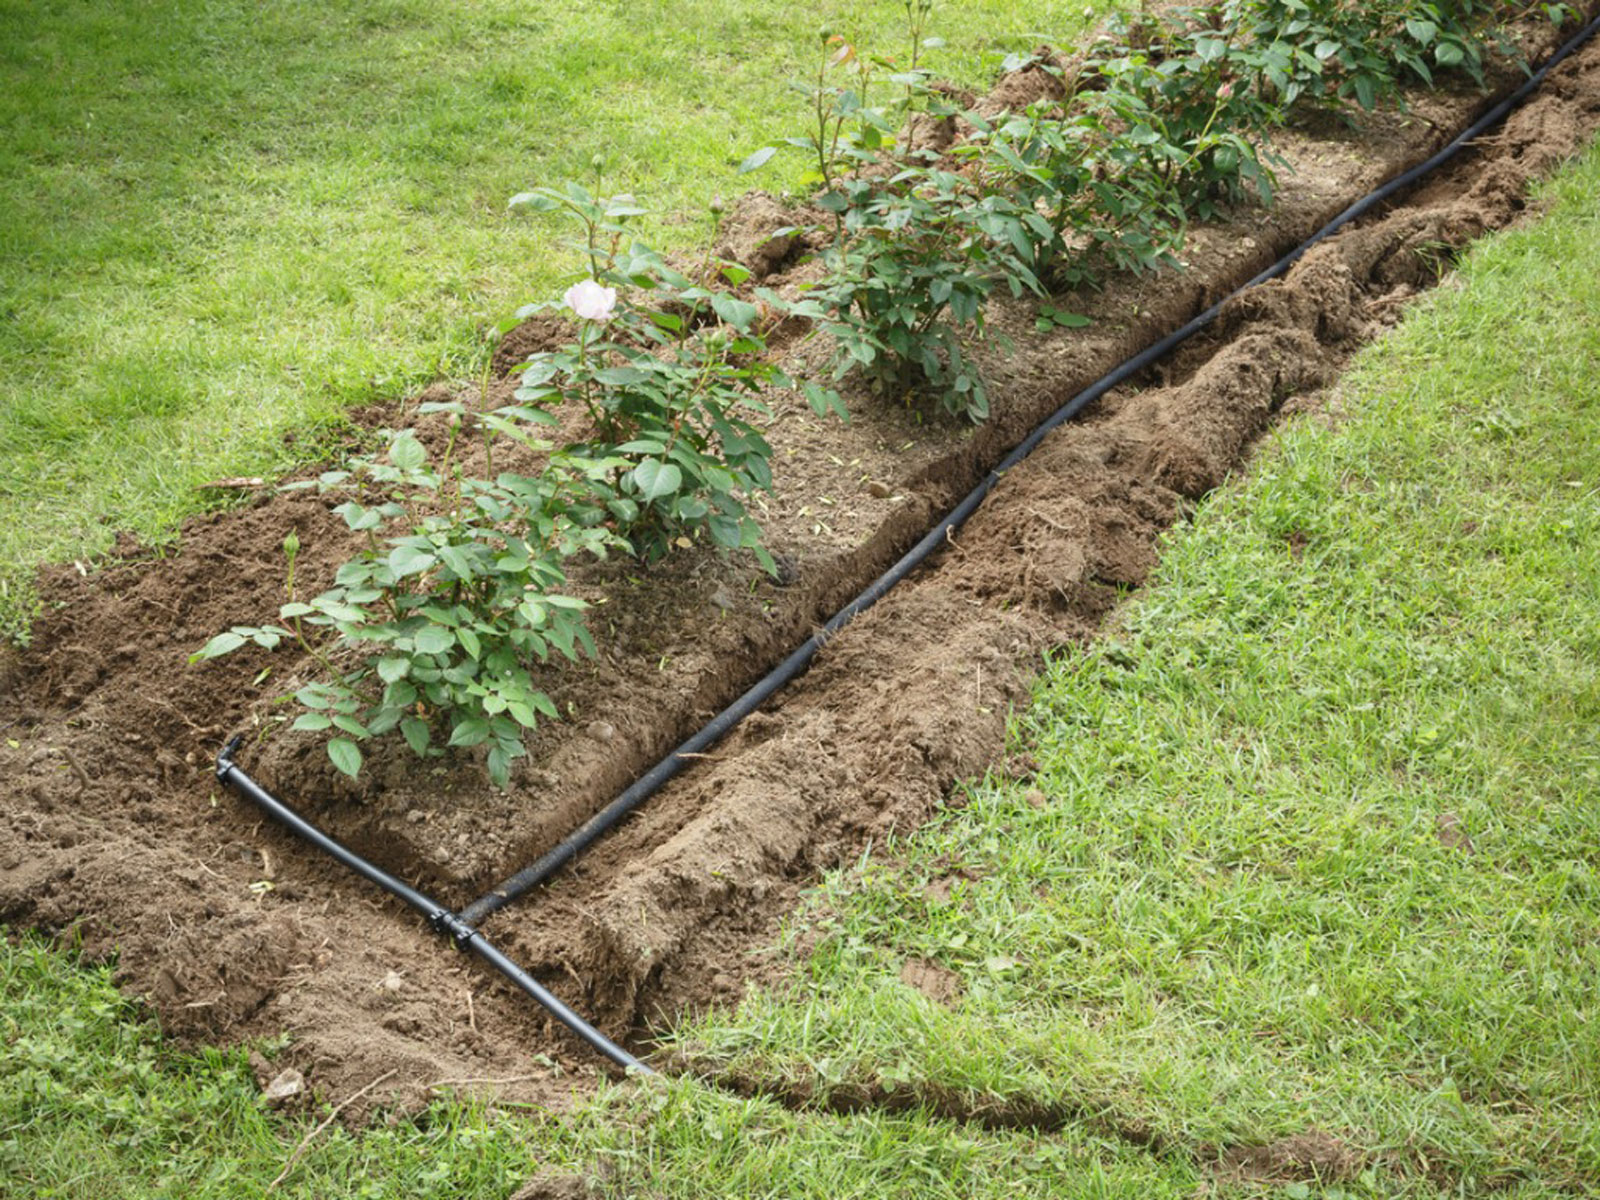
Laying Out
The first step to do when installing drip irrigation is to lay out a grid using the hoses. Doing so will give you an idea of the distance of each hose.
Assemble the Hose
Each hose has an emitter attached to the tube that runs from the first or primary hose to the plants. The emitter should be at least 30 cm apart from one another if it’s sandy soil, around 61 cm for clay soils, and approximately 46 cm for loamy soils.
Install the Backflow Preventer Valve
Simply put, a backflow preventer valve needs to prevent your primary source of water from flowing in the wrong direction.
So, you need to attach the adapter to fit the hose. For this, you need to connect the central hose to the preventer valve, then run it to your garden.
Place the Emitter
After that, you need to dig holes and place the emitters. Lastly, plug the end lines with band clamps and caps.
Sprinkler Irrigation Installation
 Aside from drip irrigation systems, you also have sprinkler irrigation systems. A sprinkler irrigation system is usually reserved for more expansive gardens.
With this system, water is adequately distributed through its pipes like natural rainfall. With that said, to install a sprinkler irrigation system, follow these steps:
Get the Schematic of the Area
Before everything else, you need to get the schematic of the area or landscape. You can hire a pro to do this or do it yourself.
This is crucial because doing so will save you the time and money needed for the entire sprinkler irrigation installation.
Check the Water Pressure
Next, you need to check the water pressure. To check the water pressure in the area, it’s best to put a pressure gauge on your garden’s outdoor faucet.
After this, you should remove the pressure gauge and pour at least five gallons in a bucket from the tap.
Once you do, check how long it will take to fill the bucket and identify the flow rate per minute. This method will help you determine the sprinkler heads that you will need for your garden.
Mark the Course of Your Sprinkler Irrigation System
Using your map, mark the area where you will place the sprinkler heads. However, ensure to allow an overlap so that the radius of each sprinkle head can cover the entire area. You can use flags or spray paint to mark each location.
Install the Zone Valve
After this, you need to install the zone valve, but this will depend on the number of loops you have assembled in your irrigation installation.
It’s best to have someone look out for you to ensure that the valves are installed and facing in the right direction. Lastly, the zone valve will connect to the pipes and timer, which also connects each valve.
Dig a Hole
Now, you have to dig the ground. This is where you will put the sprinklers. So, make sure that the depth of the hole is enough to expose the sprinkler heads.
Here are some tips to make this process easier:
You also need to dig a hole near the faucet where the zone valve will be placed. After this, you need to place the hose of the irrigation system and install the sprinkler heads. You can set the sprinkler heads based on the location of your plants.
Test the Irrigation System
You’re now done with the installation, so it’s time to test the irrigation system. To prevent leaks, you can use soil to backfill the trenches. You also need to install a cover for the valve assembly.
Bonus: Install a Solar Irrigation Pump
The solar irrigation pump is an innovation in the irrigation system industry. In fact, it’s commonly seen for commercial, residential, and agricultural uses.
Suppose you want to make your irrigation system more energy and cost-effective. In that case, you can include a solar irrigation pump as part of your irrigation system installation.
A Solar irrigation pump mainly utilizes the sun to pump water. As a result, it’s a feasible alternative to fuel-driven and electric pumps. Moreover, it creates a more simple, clean, and energy-efficient irrigation system.
Moreover, a single 12V solar irrigation pump can move up to 2,600 liters or 700 gallons of water per hour. Therefore, using the sun’s energy to pump water will undoubtedly accelerate the development of the agricultural sector.
Conclusion
An unlimited supply of water is essential for survival, not only for humans but for your plants as well. Therefore, having a good irrigation system, whether a solar-powered or traditional one, is a must.
Now that you know the simple procedure of an irrigation system, you can surely do it on your own.
However, while this process is relatively easy, it’s always better to hire a professional. After all, professionals usually do the irrigation system because they have the skills and tools to do so. Moreover, having it on your own can be physically taxing and costly.