
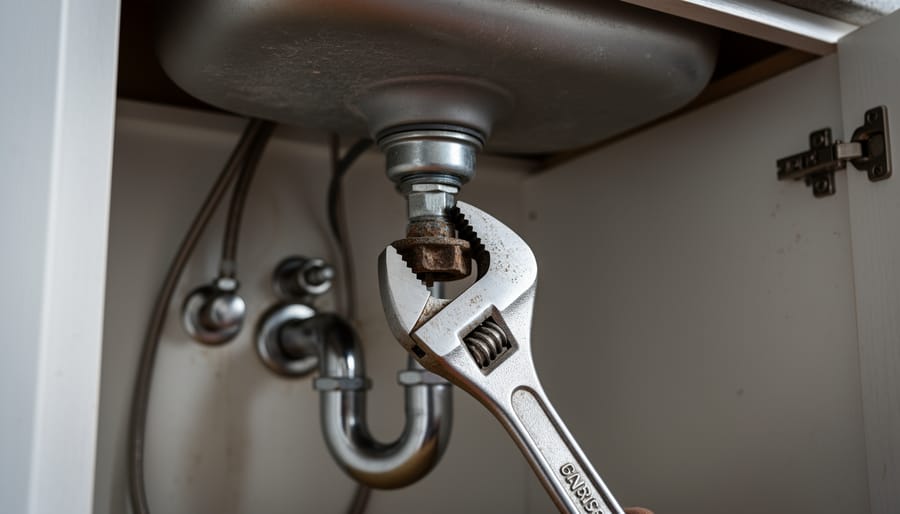
If your faucet and sink wrench is slipping, the culprit is almost always one of two things: the jaws aren’t seated squarely on the nut, or the nut is corroded and needs a little help before it will budge. A quick check settles it. Look at the nut and ask whether the wrench is gripping its flat sides or just skating over rounded, crusty edges.
Most under-sink fixes come down to a few small adjustments. Repositioning the wrench, trying a different style of tool, or loosening mineral buildup can turn a ten-minute fight into a two-minute win. We’ll walk through the symptoms first (slipping, not fitting, or refusing to turn), then the likely causes, then a numbered fix you can follow while you’re lying on your back with a flashlight.
A quick term before we start: the “mounting nut” is the large nut that holds your faucet to the sink from underneath. It’s the one that sits in the cramped spot behind the basin, and it’s the reason this specialized wrench exists.
You’re not doing anything wrong. Tight spaces, old fittings, and the wrong tool for the job trip up plenty of homeowners, and plumbers will tell you the same. One safety note: shut off the water supply valves before you loosen anything. If a nut is badly rounded, a pipe looks cracked, or you spot water where it shouldn’t be, stop and call a pro. Everything else is very fixable, and we’ll get you there.
Start Here: What Is Your Wrench Doing? Symptom Triage Before You Crawl Back Under the Sink
Know Your Tools: Basin Wrench vs. Sink Wrench vs. Other Options
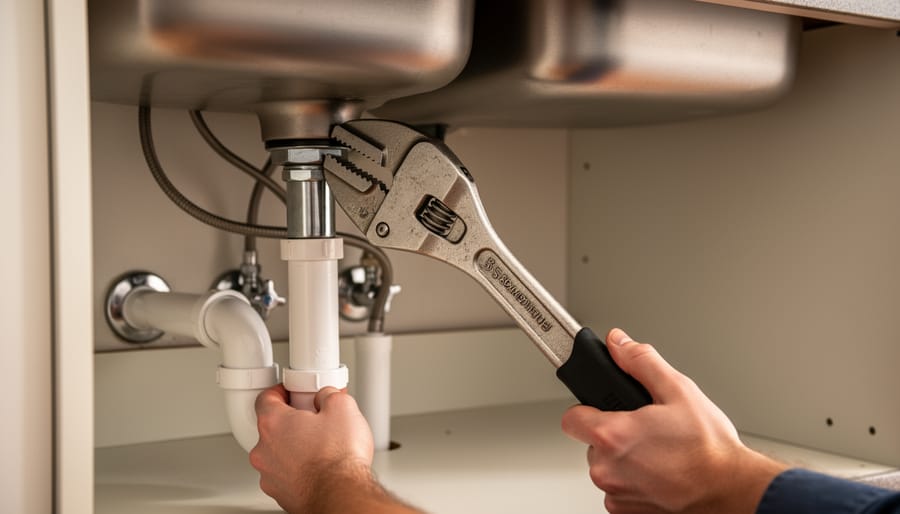
Before you buy or borrow anything, it helps to know that “faucet and sink wrench” is really a small family of tools, each built for a slightly different cramped-space problem. The classic is the basin wrench, a long shaft with a gripping head on one end and a T-shaped handle on the other. Its jaw flips to grip in either direction, so you can loosen or tighten without moving the whole tool around.
A slotted or crowfoot-style faucet wrench is the simpler cousin. It hooks over the nut and works well when you have a little room to swing. Socket-style options, often a deep socket on an extension, are great when the nut sits straight above you with nothing in the way.
Here are the key terms you’ll run into:
- Basin wrench
- A long-handled tool made for reaching nuts tucked behind and under a sink where regular wrenches can’t fit.
- Pivoting jaw
- The swiveling gripping head on a basin wrench. You flip it one way to tighten and the other way to loosen.
- Basin nut
- The large nut that holds a faucet in place from underneath the sink deck, and the one this tool is most often asked to turn.
- Supply line nut
- The smaller nut that connects the flexible water line to the faucet, usually easy enough for a standard wrench or even your fingers.
- Telescoping handle
- A shaft that slides longer or shorter, so you can get the reach you need without carrying a second tool.
Pick the style that matches how much room you have to work, and the rest of the job gets much friendlier.
Why Your Faucet and Sink Wrench Isn’t Cooperating: The Likely Causes
Why Old Nuts Fight Back: Corrosion, Mineral Buildup, and Plastic vs. Metal
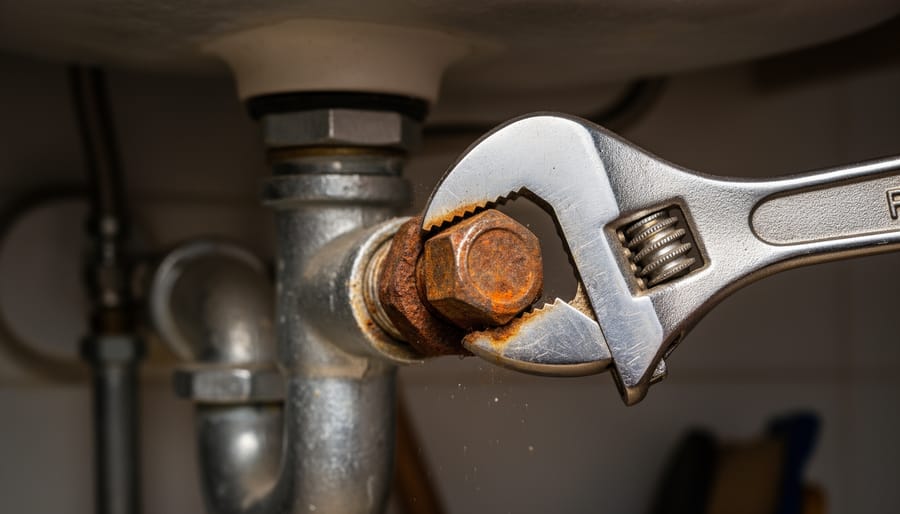
If a nut has been sitting under your sink for ten or fifteen years, it’s had a long time to dig in. Water drips, condensation forms, and minerals in the water leave a crusty film behind. That film can act like glue between the nut and the threads. Metal nuts add another twist: rust and corrosion slowly roughen the surface, so the threads grip each other far harder than they did on day one. The result is a nut that feels welded in place, even though it isn’t.
Plastic nuts are a different story. They don’t rust, but they can turn brittle with age, and the grooves on them are easy to chew up. Crank too hard with a wrench and the jaw can crack or round them off. With plastic, think steady and gentle, not forceful.
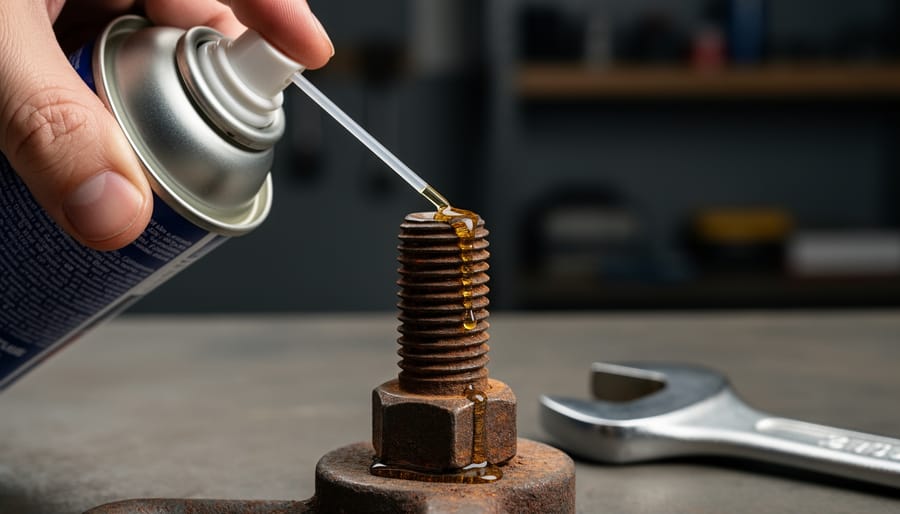
The good news is that prep does most of the work. Wipe the area clean and spray a penetrating oil on a stubborn metal nut, then give it ten to fifteen minutes (longer for really crusty ones) to soak in. Skip the oil on plastic, since some products can weaken it, and just use slow, even pressure instead.
Patience here isn’t wasted time. A little waiting and a little care usually turns a nut that seemed impossible into one that gives way with a satisfying creak.
Step-by-Step Fix: Getting a Grip, Loosening the Nut, and Finishing the Job
When the Nut Still Won’t Budge: Backup Moves That Work
Sometimes a nut just needs a little more persuasion, and you have several gentle options before anyone needs to worry. Think of these as stepping stones, each one slightly stronger than the last.
Start with patience. Spray a penetrating oil on the threads, then walk away for 15 to 30 minutes, or even overnight for a really old fixture. The oil needs time to creep into the crud.
Next, try light tapping. A few gentle taps on the side of the nut with a small hammer or the handle of a screwdriver can break up mineral buildup. Keep the taps modest. You’re knocking loose crust, not driving a nail.
If your wrench jaws keep slipping, switch tools. A deep socket or a crowfoot attachment grips more of the nut and spreads the force out, which helps on stubborn or slightly rounded edges.
Still stuck? A cheater handle, which is just a length of pipe slipped over your wrench handle for extra leverage, can do the trick. Use it carefully, with steady pressure instead of sudden yanks, and only on metal nuts.
If none of that works, calling a plumber is a perfectly sensible next move. They have tools and experience for exactly this, and there’s no shame in handing it off.
Stories From Under the Sink: What Homeowners Often Learn
Real plumbing wins rarely look like the tutorials. Here are three composite stories, drawn from what many homeowners describe, that show what the job feels like once you’re actually under there.
The cramped cabinet. Dana had a garbage disposal sitting right where she needed to reach her faucet’s mounting nuts. Her standard basin wrench kept bumping the disposal housing. She eventually found a shorter, slotted-style wrench that fit in the gap, and the nut came loose in minutes. Her lesson: measure your clearance before you buy.
The corroded rental. Marcus was helping a tenant with a faucet whose nuts were crusted with mineral buildup, the kind of crust you see in homes with hard water. Many of those homeowners eventually look into a water softener to slow it down. Marcus sprayed penetrating oil, walked away for an hour, and came back to a nut that turned with steady pressure. His lesson: soak time does more than muscle.
The first-timer. Priya grabbed the cheapest wrench on the shelf and spent an evening rounding off a nut. A friend pointed out she had the jaw set backward for loosening. Once she flipped it, the nut gave right away. Her lesson: check the jaw direction before you blame the tool.
Each of these situations starts out frustrating, and each one has a simple fix. Got your own story from under the sink? We’d love to hear it. Share it on the site and help the next homeowner get unstuck.
Keeping Your Wrench and Fixtures Ready: Prevention and Care Tips
Most wrench trouble is easy to dodge with a few minutes of care before and after the job. Choosing the right tool is half the battle. Take a quick look at your faucet first, then match the wrench to the space and the nut, whether that’s a telescoping basin wrench for tight spots or a socket-style option for a chunky mounting nut.
Once the job is done, give the tool a little attention. A quick wipe and dry keeps rust from creeping into the pivot, and a clean set of jaw teeth bites far better next time. Store it flat or hanging so the shaft doesn’t get bent under a pile of other tools.
Here’s a simple prevention checklist to keep handy:
- Pick the right wrench style for the faucet and the clearance before you crawl under the sink.
- Keep the jaw teeth clean with a stiff brush so they grip instead of slip.
- Store the tool straight and dry, never wedged under heavier gear.
- Dab plumber’s grease on threads so nuts come off easily down the road.
- Replace aging nuts and supply lines while you’re already under there.
That last point is worth a second thought. If your supply lines or shutoff valves look crusty, swapping them now saves you a repeat visit later. A fresh nut is far kinder to your wrench than a decade-old corroded one, and it’s often the quiet fix behind many kitchen faucet problems that keep coming back.
Professionals feel the same way about gear. In busy commercial spaces, like vape shops and cannabis facilities with heavily used sinks and specialty fixtures, plumbers rely on these same tools and keep them well maintained, because cramped cabinets and constant use leave no room for a tool that slips. You don’t need a commercial setup to borrow the habit. A clean, straight, dry wrench is ready whenever the next drip shows up.
Common Questions About Faucet and Sink Wrenches
Got a question that isn’t covered here? Most of these snags have quick answers, and a few are worth a closer look before you head back under the cabinet.
Can I use regular pliers instead of a faucet and sink wrench?
Sometimes, but it’s a gamble. Pliers can’t reach up behind the basin and tend to chew the edges of a nut, so they work only if you’ve got open space and a metal nut that isn’t badly rounded.
Which way do I turn a basin wrench to loosen a nut?
Counterclockwise, like most threads. Flip the pivoting jaw so it grips in the loosening direction, then turn the handle the same way you’d unscrew a jar lid.
Is a faucet and sink wrench worth buying for a one-time job?
Usually yes, since a basic one costs about the same as a takeout dinner and saves a lot of knuckle-scraping. If you’d rather not own one, many hardware stores offer tool loans or rentals, so it’s worth asking at the counter.
What if I can’t reach the nut at all?
Try a telescoping model with a longer shaft, or a crowfoot attachment on an extension. If a disposal or pipe still blocks the way, that’s a good moment to call in a plumber.
When should I call a plumber?
If a nut still won’t budge after soaking and gentle tapping, or you spot leaking, cracking, or heavy corrosion, a pro can finish the job without risking a bigger repair. There’s no shame in it, and it can save you a headache.
A quick bonus tip: while you’re under the sink anyway, it’s a smart time to think ahead. If you’ve been considering an under-sink water filter the same wrench you’re using now will help you fit the new connections. Curious about cleaner drinking water more broadly? Learning how reverse osmosis works can help you decide what’s right for your household. And if you’re on a private supply, well water filtration is worth a look too.
Still stuck on something specific? Pop it into our “Ask a Plumber” feature, and a real person will point you in the right direction.
If your faucet and sink wrench isn’t cooperating, remember that the fix is usually small. Check which way the jaw is set, make sure the style of wrench matches your nut, give a crusty nut a little soak time, and use a gentle touch on plastic. Most stuck-wrench moments come down to one of those simple adjustments, not a bigger plumbing problem.
Faucet and sink repair is very doable for a first-timer. With the right wrench, a flashlight, and some patience, you can handle the cramped cabinet and the stubborn nut. Plenty of first-timers feel stuck at some point, and most of them figure it out.
We’d love to hear how your repair goes, so share your story with the community. If you hit a wall, ask a plumber through our Ask a Plumber feature, or find a qualified local plumber if you’d rather hand it off. Either way, you’ve got this.